DIY Nail Art: Step-by-Step Tutorials for Creative Nail Designs
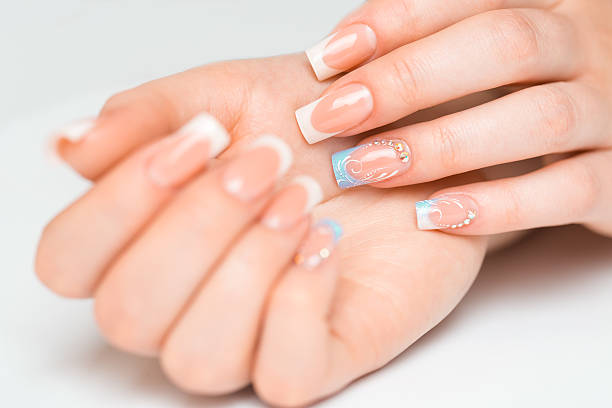
DIY nail art refers to the practice of creating and designing intricate nail designs and decorations at home without the assistance of a professional nail technician. It allows individuals to unleash their creativity, experiment with various techniques, and personalize their nail looks according to their preferences and style.
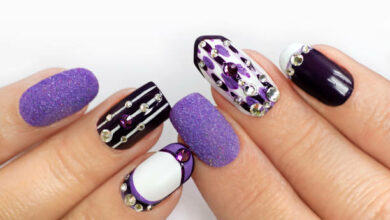
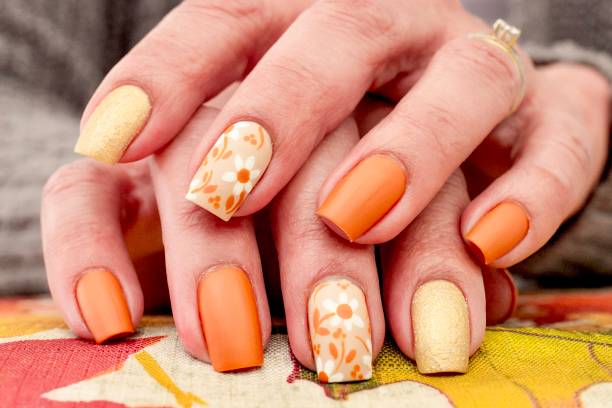
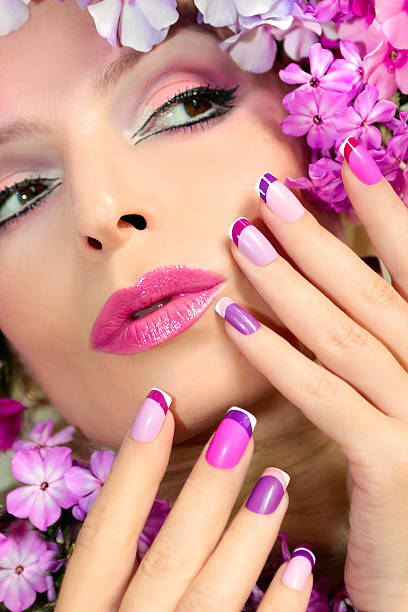
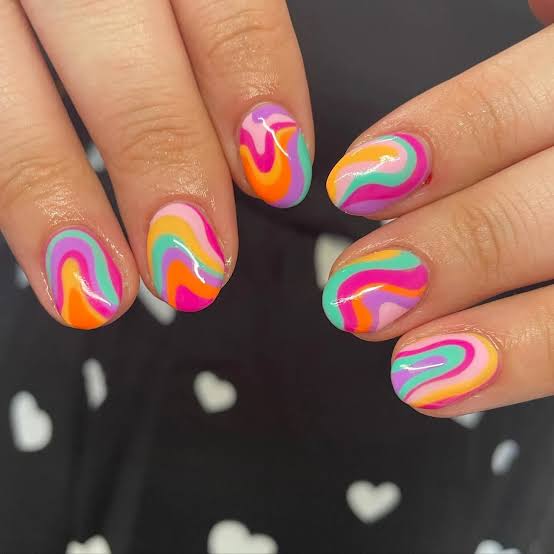
With adequate knowledge, you have the freedom to explore a wide range of possibilities. You can experiment with different colors, patterns, textures, and embellishments to create unique and eye-catching designs. It offers a fun and affordable way to express yourself through your nails, without the need for expensive salon visits.
There are numerous techniques and tools artists can utilize. Some popular techniques include:
- Nail Stamping: Using specialized stamping plates and stampers, you can transfer intricate designs onto your nails with precision and ease.
- Nail Stenciling: Stencils or vinyls are adhesive templates that you can apply to your nails to create precise shapes or patterns. They can be used with nail polish, gel polish, or even acrylic paints.
- Dotting Tools: These tools have various-sized tips that allow you to create dots and intricate designs by simply dipping them into nail polish and applying them to your nails.
- Nail Decals: Pre-made nail decals or stickers with various designs can be applied to the nails for quick and easy art.
- Freehand Painting: This technique involves using thin brushes or nail art pens to paint detailed designs directly onto the nails. It requires patience and practice but allows for unlimited creativity.
The Ultimate Guide to Creative Nail Designs
Here’s a step-by-step tutorial on creating a creative design:
Step 1: Prep Your Nails.
Start by preparing your nails for the design. Remove any existing nail polish using a gentle polish remover. Trim and shape your nails with a file according to your desired length and shape.
Step 2: Apply a Base Coat
Apply a thin layer of clear base coat to all your nails. The base coat helps to protect your nails and provides a smooth surface for the nail polish.
Step 3: Choose Your Colors
Select the colors you want to use for your creative design. You can choose complementary colors or create a theme with a color palette.
Step 4: Apply the Base Color
Apply the base color of your choice to your nails. Start with a thin coat and let it dry completely. If needed, apply a second coat for full opacity.
Step 5: Get Creative with Designs
Now comes the fun part – creating your design! There are various techniques you can use which are dotting tool, stripping brush, stamping, and free hand painting, etc.
Step 6: Add Details and Embellishments
Once your main design is complete, you can enhance it with additional details and embellishments. Apply them using a small dot of clear nail polish or glue, and place them onto your nails.
Step 7: Apply a Top Coat
To seal and protect your design, apply a clear top coat over your nails. The top coat will also give your nails a glossy finish and help extend the longevity of your nail art.
Step 8: Clean Up/Moisturize
Clean up any excess nail polish or mistakes around your nails using a small brush dipped in the polish remover. After completing your art, apply cuticle oil or a moisturizing hand cream.
Tips and techniques for beginners
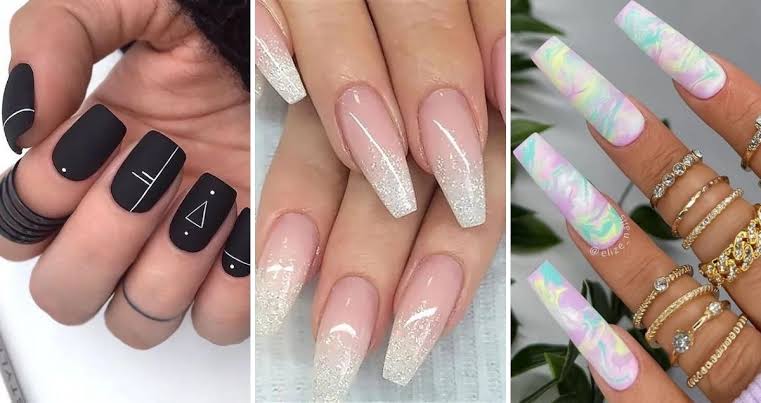
- Start with Simple Designs: As a beginner, it’s best to begin with simple designs and gradually work your way up to more complex ones. Start with basic patterns like polka dots, stripes, or simple geometric shapes. This will help you build confidence and develop your skills.
- Practice on False Nails or Nail Wheels: Before attempting nail art on your own nails, practice on false nails or wheels. This will give you a chance to experiment with different techniques and designs without the pressure of working on your own nails.
- Experiment with Color Combinations: it is all about creativity, so don’t be afraid to experiment with different color combinations. Play with contrasting or complementary colors to create visually appealing designs. You can also incorporate different finishes like metallics, glitters, or matte top coats for added interest.
- Practice Patience and Take Your Time: This art requires patience and attention to detail. Take your time during the process, and remember that practice makes perfect. Don’t get discouraged if your first attempts are not flawless. Keep practicing and refining your techniques.
- Seek Inspiration and Learn from Others: Look for nail art inspiration online, through social media platforms, or in art books and magazines. Study different techniques and designs, and learn from the work of other nail artists. This can provide valuable inspiration and help you expand your skills.
Remember, the key to mastering DIY nail art is practice and patience. With time, you’ll develop your own style and techniques. So, don’t be afraid to experiment, have fun, and let your creativity shine through your nail art!